Basic Tech - Installing spark plug wires.....
The easy way to an old skool buzz - with a high tech twist…..
Those of us who’ve done it a number of times know it isn’t rocket science, but for those who’ve never done it, changing a set of spark wires can be a bit of a confusing task. What if I get one of the wires crossed, what if it won’t start afterwards? We’ve all been there, and we’ve all made mistakes. So we’re going to do an easy step by step for you first timers out there, with a couple of tips to make sure it’s easy, and you get it right.
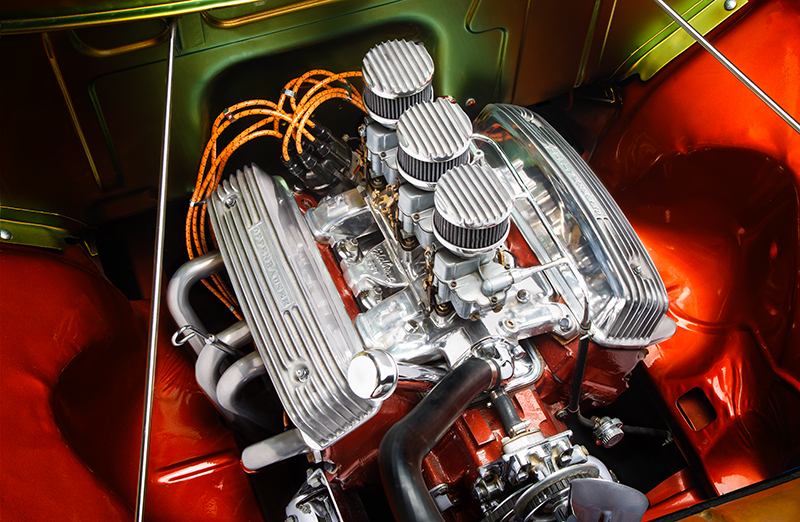
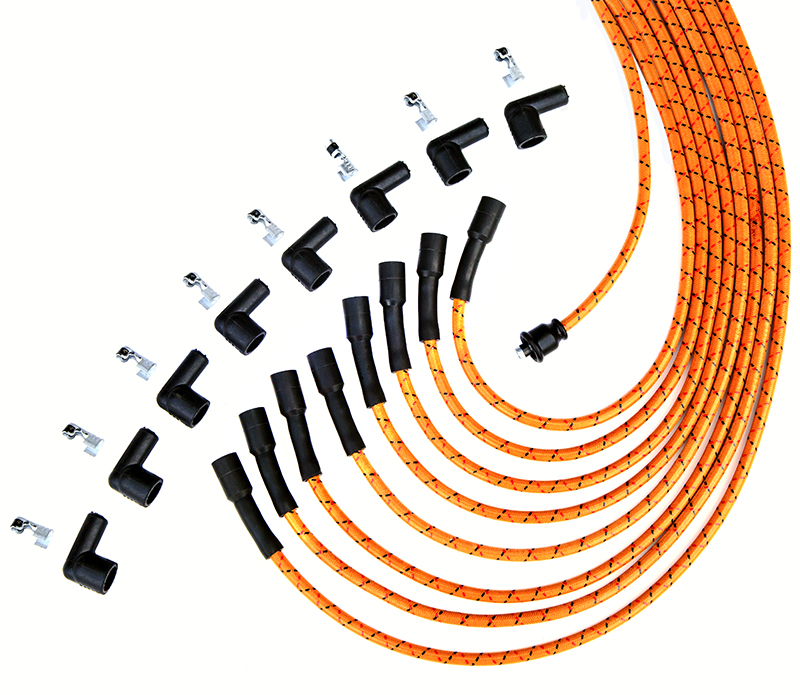
Better yet, we’re going to replace a set of boring stock black rubber wires on a bitchin’ ’57 Mercury Y-Block, (in an equally kool ’54 Ford F-100), with a set of Vintage Wires, ( now a part of the IDIDIT family), new 7.8 mm spark plug wires which feature the original look of pre 60’s fabric covered plug wires, but with lacquer covered cotton braid and EPDM silicone insulation with a spiral wound suppression core. Better spark, and better heat and weather resistance, especially for hot rods running exposed engines. And they’re available in a wide variety of colors. Simply put, vintage looks without the vintage hassles.
So follow along… here’s an easy step by step “how - to” to get you through that virgin experience.
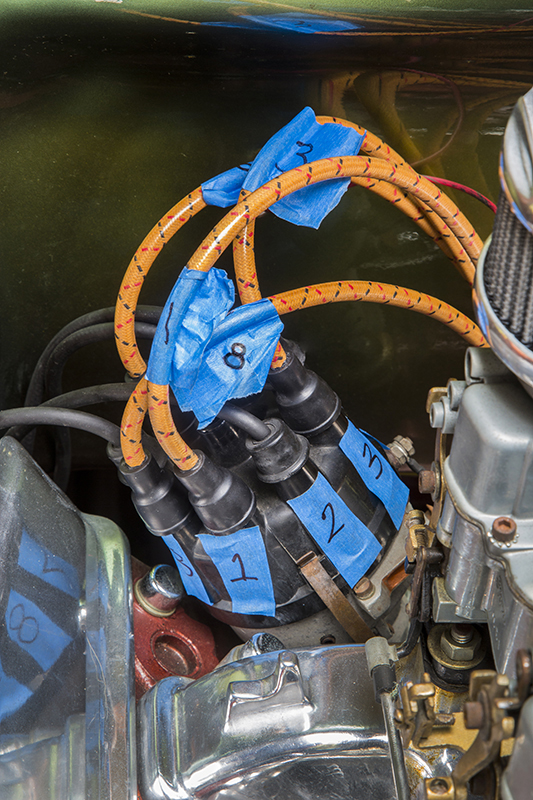
1. First cut some pieces of tape and number them like this. We’re working with a V8 here so 1 thru 8, with 2 tape pieces for each number.

2. Start where ever you wish and place the first set of tape numbers around the distributor. We’re not marking firing order, just giving each wire a number.

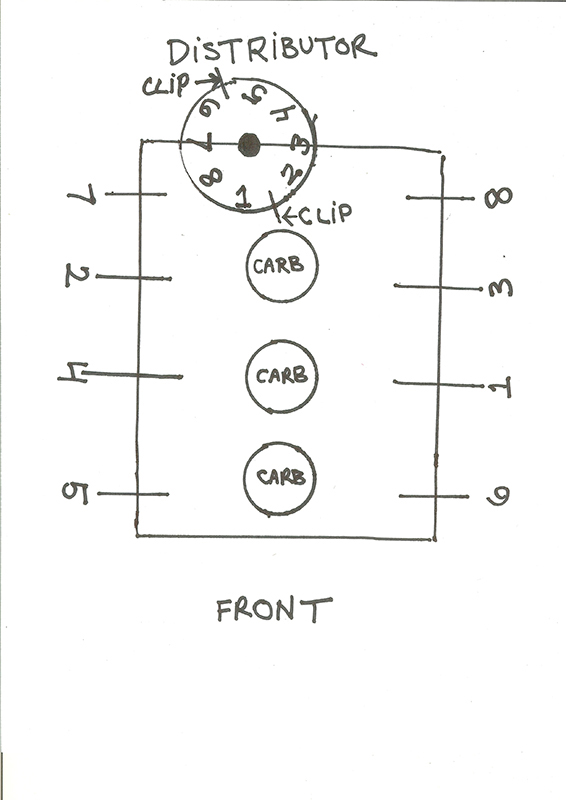
3. We also made a cheat sheet to follow, just in case. A simple drawing with the distributor cap clips as a reference point. Then follow each wire to its spark plug.
4. Follow each of the spark plug wires from the cap to the spark plug its connected to and place the same number on the plug wire.

5. Do this to all 8 wires and securely attach the tape. Now all you’ve got to do is follow each wire, (one at a time), from cap to plug and replace each wire!

6. Now since you may get a wire kit that comes as a universal set to be assembled, we’ll go through that process here as well. First determine if you’ll need straight boots or elbows to fit your application. You may need a mix.

7. As you remove each plug wire, (remember one at a time), you can cut each new wire to fit neatly, using the old wire as a guide. Leave a little extra length!

8. Once you’ve selected the proper boot shape, spray the boot and wire with WD-40 or something similar to lubricate slipping the boot on.

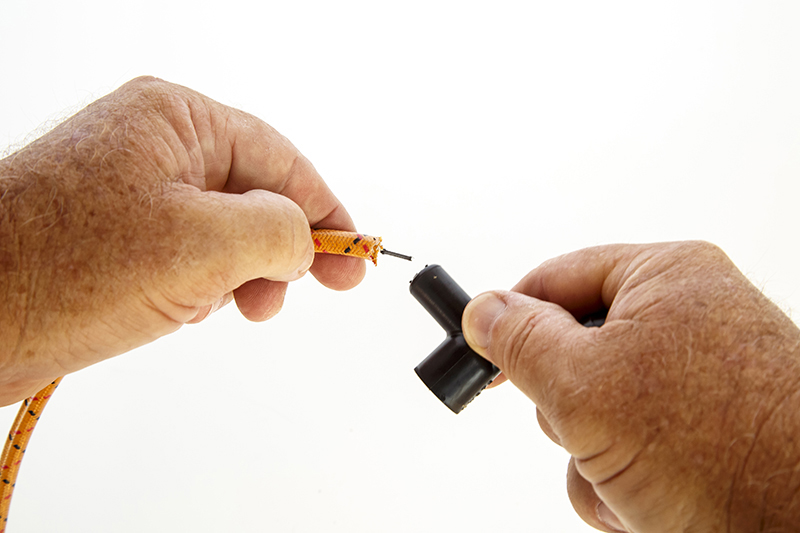
9. Shove the wire through the boot, and remember to do both ends of the wire. They may have different boots, one for plugs, one for the distributor cap.
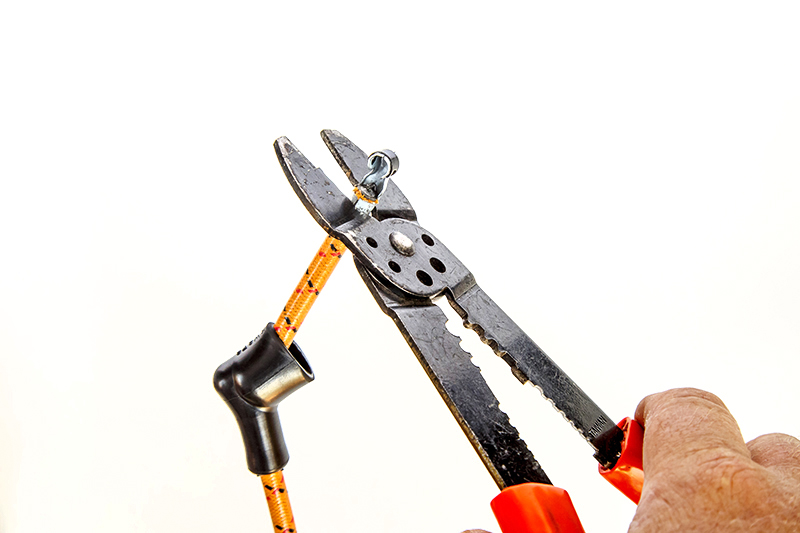
10. You may need to use needle nose pliers to help pull the wire through the boot. Just be careful not to tear or damage the rubber, and grab the wire casing, not the core!

11. Carefully strip both ends of the wire leaving about 1/2 to 3/4 inch of the center core exposed.

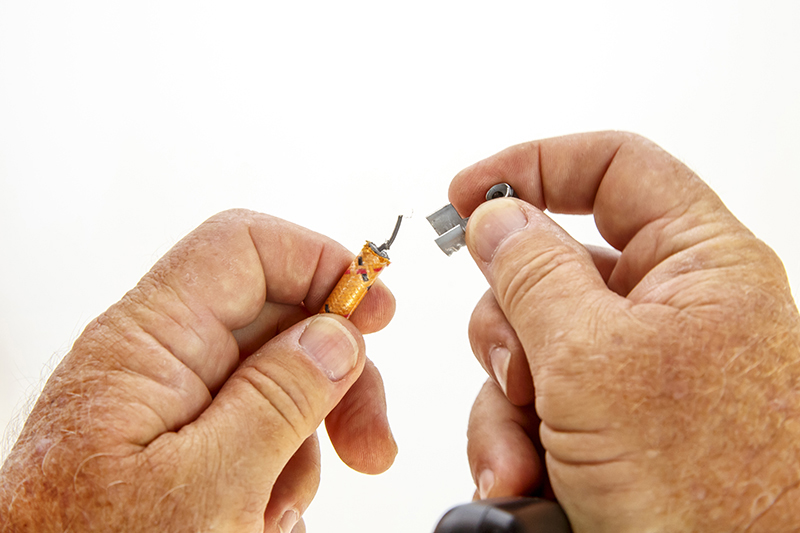
12. Fold the end of the wire core over against the wire casing and slip on one of the metal connectors. Be certain the core is in full contact with the metal. A connector for the spark plug (shown) is different than the cap connector.
13. Tightly crimp the ends of the connector around the wire casing. Give it a slight tug to insure it’s firmly in place.
14. Now you can simply slide the rubber boots over the metal connectors on each end of the wire. Use a little more WD-40 or similar if need to slide easily.

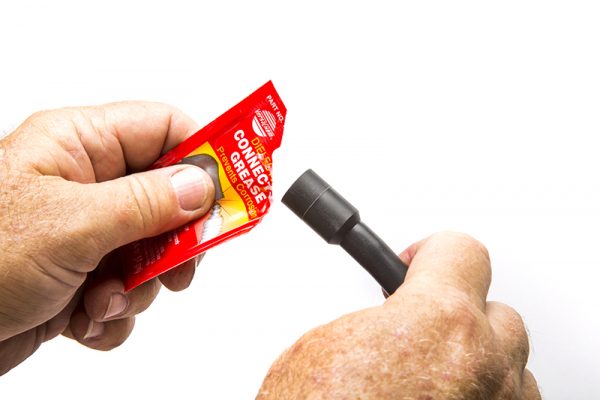
15. Use a dab of dielectric grease inside the boot to help the rubber boot to slip more easily over the spark plug and prevent corrosion at the connector. The Vintage Wires kit comes with a small tube included.
16. Here you can see how we replaced one plug wire at a time. As we did so, we simply transferred each numbered piece of tape from the original black wire to the new Vintage Wire and connected from spark plug to distributor cap. Make sure all connections and boots are fully seated and snapped into place. Don’t forget the coil wire!
17. A few wire separators helps clean things up. Not only do they look good, these also help to keep the wires from heat sources, such as exhaust manifolds or headers.

18. Not only do the Vintage Wires help brighten up a dull spot in the engine compartment of this ’54 Ford F-100, (those old black wires sucked!), they also bring with them the look of the period with this mild custom. With better spark delivery as well as heat and weather resistance to boot, it’s a definite
WIN WIN!